Creative DIY Tray Projects for Every Home
How to Make Beautiful and Functional Trays at Home: A Step-by-Step Guide
There’s nothing like the satisfaction you get from completing a DIY that comes out exactly as you imagined. Let’s be honest, sometimes DIY tutorials you see on home decor blogs or social media look easy and perfect, but they are filled with confusing instructions, lengthy material lists and unnecessary steps. My DIY projects have been a mixed bag, but I was impressed with a DIY tray that I created using affordable, simple materials. The tray was not only useful but also added a touch of luxury to my house. DIY is easy and elegant.
You’ve come to the right place if you want to make a tray that is both budget-friendly and beginner-friendly. There are many ways to create a tray to complement your home decor, whether you want to create one for your kitchen, vanity in the bedroom, or living area. This guide offers a wide range of DIY tray ideas.
Marble Shelf Tray: An Easy and Luxe Project
A simple but stunning marble shelf that I saw online inspired one of my favourite DIY tray projects. This project requires only a few materials and is easy to do. It also gives a luxurious look that will elevate any room. How to recreate this beautiful tray easily:
Selecting Materials
First, I had to find the right materials. To create the marble effect I was looking for, I went to a local stone and ceramic tile shop. I selected a beautiful pink marble tile that featured blush, coral and grey veining, with a subtle sheen. This tile was ideal for creating a neutral yet luxurious vibe. I chose marble ledges to support the tile and the tiles themselves would form the base. Since the ledges would not be visible, I chose a neutral-coloured marble so that the focus could remain on the tile.
Getting Started
As soon as I had all my materials, I began assembling the tray. It was a very simple process, and I did not need to use any power tools. To remove dust and debris, I started by wiping the tiles down. Then, I played around with the ledge placement to find the right spacing. I kept the ledges at a distance of about two thumbs, to create the illusion of floating shelves.
I chose ledges that had a semicircle-shaped shape. I then flipped them so the flat side would be flush with the tile. This ensured the shelf would balance properly on the rounded edges. After the placement was determined, I began the glueing process.
Applying Adhesive
I used the “No More Nails”, a glue that works great for projects such as this. I pressed a thin layer of adhesive onto the flat surface of the first ledge. This step was repeated for the second ledge. I made sure that it was perfectly aligned with the first. At this point, I used too much adhesive on the second ledge and it leaked out. The excess adhesive was easily removed with some Q-tips.
Finishing touches
After applying the glue and ensuring everything was aligned properly, I let the tray dry upside-down for around 30 minutes. The glue would have been set and the ledges would be securely attached. After the tray had dried, I turned it over and placed it on my windowsill.
The result was amazing. To style the tray, I used two of my favourite fragrance bottles and a Jo Malone Candle. The tile’s soft coral and pink hues gave my room an inviting and warm feel, and it was a great way to give the room a hotel vibe. It was easy to make and cost only $5.99. I spent less than 5 minutes on it. The finished product was similar to something you might find in a boutique but with only minimal materials and effort.
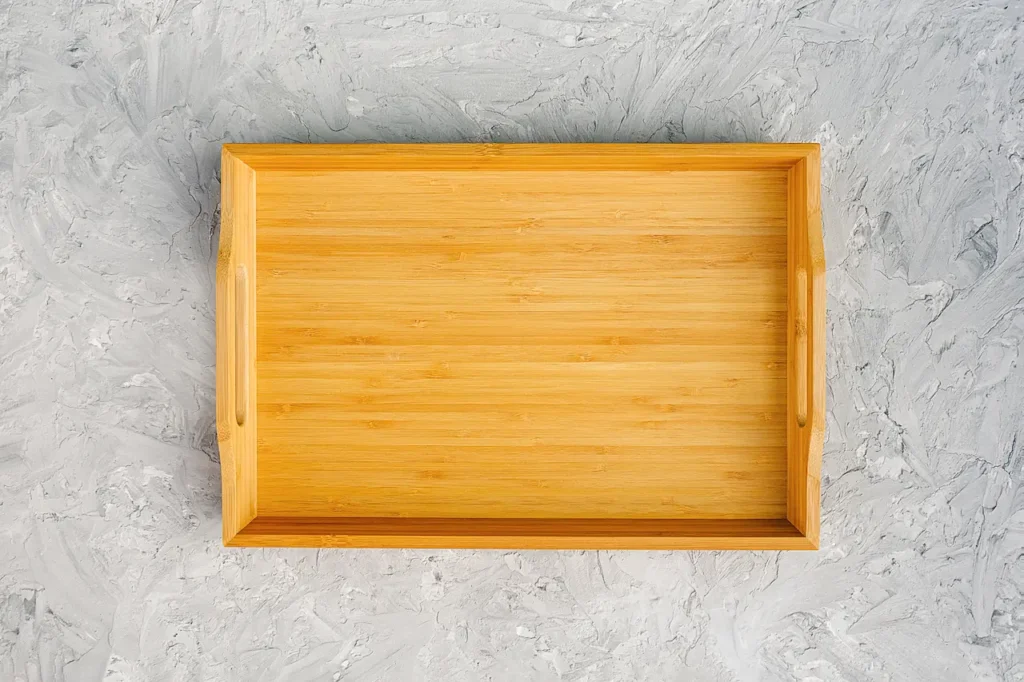
A Beginner’s Guide to Woodworking
A DIY wooden tray will give your trays a rustic, natural look. This project is easy and doesn’t require any advanced woodworking knowledge, so it’s perfect for beginners. You can make a wooden tray with a few simple hand tools.
Materials you’ll need:
- Wood (scrap wood is great for this).
- Kreg Jig 520PRO for pocket hole joinery
- Super glue or wood glue?
- Paint or stain wood (optional).
- Handles (brushed-gold handles are a great way to create a sleek appearance)
Step-by-Step Process:
- Cut the Wood Pieces Gather your wood pieces. This is the perfect time to use any scrap wood you may have lying around. Small wood planks can be purchased at local hardware stores. You’ll need to cut four pieces of wood for the sides, and one piece for the bottom for a simple tray.
- Using Kreg Jig I used the Kreg Jig, a portable, easy-to-use tool for pocket-hole joinery. This tool allows you to create durable, strong connections between wood pieces without needing advanced woodworking skills. Follow the instructions on how to drill pocket holes in the wood edges.
- Assembling Tray: After the holes have been drilled, glue the pieces together using screws. The Kreg Jig ensures that the joints will be tight and secure. You can now attach handles to the sides of your tray.
- Finishing Tray: You can paint or stain the tray to match your style. To give my tray a more natural look, I stained it with a walnut stain. The rich colour complements the grain in the wood. You can use other finishes, such as wax or polyurethane depending on your desired look.
- Finishing Touches: The tray can be used once it has dried. Decorate it with decorative items, such as candles, plants or decorative objects, to enhance your space. The wood texture brings warmth and charm into any room.
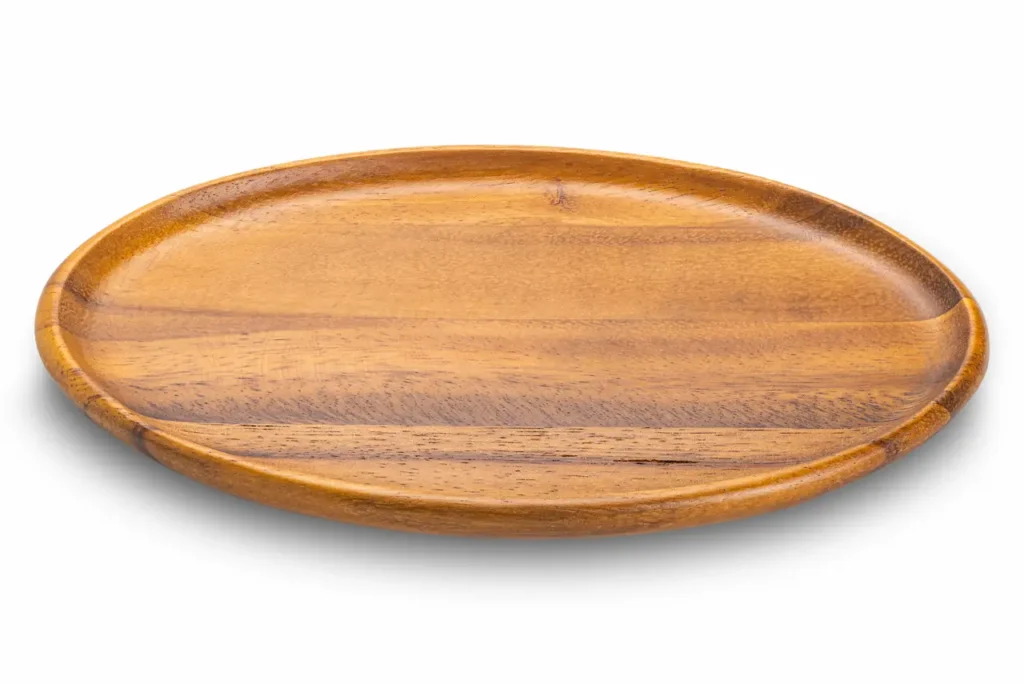
A Quick and Easy Project to Make a Footed Tray from Scrap Wood
This DIY footed tray is the perfect project for those who are short on time and want to make a project with minimal effort. You can make this tray in a matter of minutes with scrap wood and other simple materials.
Materials you’ll need:
- Any leftover wood will do
- Furniture feet or wooden balls (for legs)
- Superglue or wood glue
- Finish (optional).
Step-by-Step Process:
- Trim and Find Scrap Wood: Search through your scrap pile to find a piece of wood that will fit your tray. You can choose any size and shape, including circular or rectangular. You can use a saw to trim it to the desired size. Feel free to be creative with your shape.
- Drill Holes For The Feet: If using wooden balls, or other types of foot, drill a small hole in the bottom tray. This step is not essential but helps to secure the feet firmly into place.
- Attach Feet: Apply the glue to the tops and insert the furniture feet or wooden balls into the holes. If you like, you can attach the feet to the corners of your tray. Let the glue dry completely before continuing.
- Finishing the Tray: Flip the tray over after the glue has dried and apply the finish of your choice. You can choose to go with a natural look or paint it a bright colour I used Walrus Oil Furniture butter to give the tray an elegant, smooth finish.
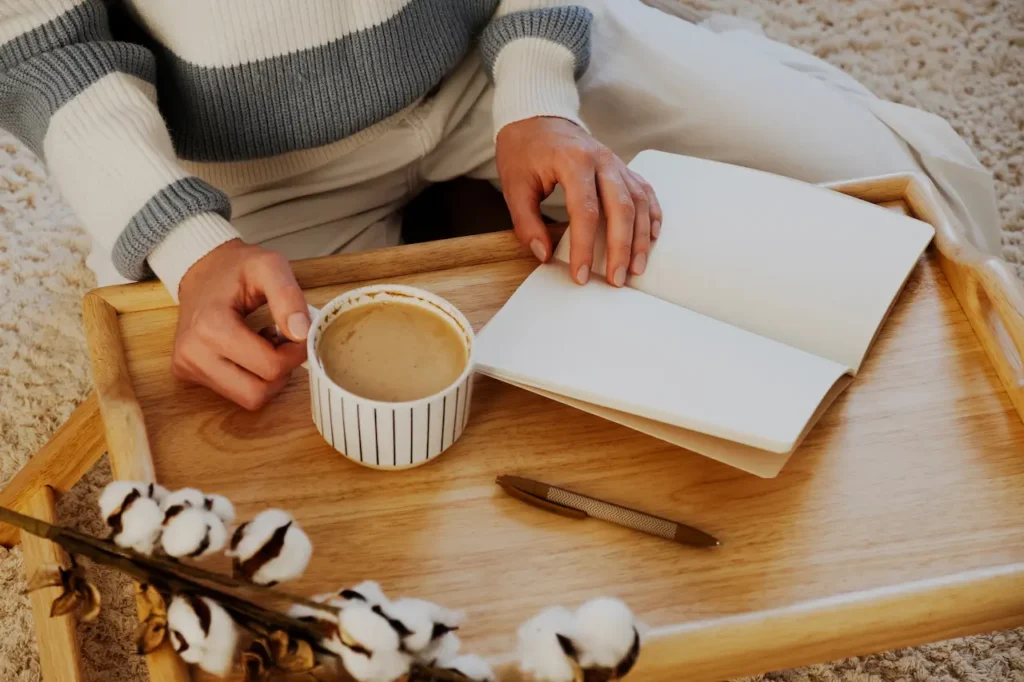
- Style and Use the Tray: After the tray has been finished, it can be used to display decorative items, hold a potted plant, or serve coffee and snacks.
Conclusion
Making DIY trays can be a great way to personalize your home decor and not break the bank. These projects can be tailored to your style, whether you want a rustic wooden tray or a marble shelf.
Repurposing materials such as scrap wood and ceramic tile can be used to create functional and beautiful pieces of furniture that are both decorative and useful. These projects are so easy to do that you can make several trays of different styles and sizes for your home. A DIY tray can be used in any room of the house, including your bedroom, living room, kitchen or bathroom.
Gather your materials, be creative and get crafting! In just a few easy steps, you can create a functional, beautiful tray for your home that will add a little style and personality. Enjoy your crafting!